Debian および Ubuntu に Ngx_Pagespeed (速度最適化) を使用して Nginx をインストールする
前回の記事では、CentOS 7 で Ngx_Pagespeed を使用して Nginx のパフォーマンスを高速化する方法を説明しました。このチュートリアルでは、Debian および Ubuntu システムに ngx_pagespeed を使用して Nginx をインストールし、Nginx Web サイトのパフォーマンスを向上させる方法を説明します。
Nginx [engine x] は、Web 上の多くのサイトを動かしている無料のオープンソースの人気の HTTP サーバーであり、その高いパフォーマンスと安定性でよく知られています。また、リバース プロキシ、汎用メール、TCP/UDP プロキシ サーバーとしても機能し、さらにロード バランサとしても展開できます。
Ngx_pagespeed は、サイトの速度向上とページ読み込み時間の短縮を目的とした無料のオープンソース Nginx モジュールです。ユーザーがサイト上のコンテンツを表示して操作するのにかかる時間が大幅に短縮されます。
推奨事項: Mod_Pagespeed をインストールして Apache サーバーのパフォーマンスを向上させる
Ngx_pagespeed 機能:
- URL 制御による HTTPS サポート。
- 画像の最適化: メタデータの削除、動的なサイズ変更、再圧縮。
- CSS と JavaScript の縮小、連結、インライン化、アウトライン化。
- 小さなリソースのインライン化。
- 画像と JavaScript の読み込みを延期します。
- HTMLの書き換え。
- キャッシュの有効期間の延長。
- 複数のサーバーやその他多くのサーバーの構成を可能にします。
ステップ 1: ソースからの Nginx のインストール
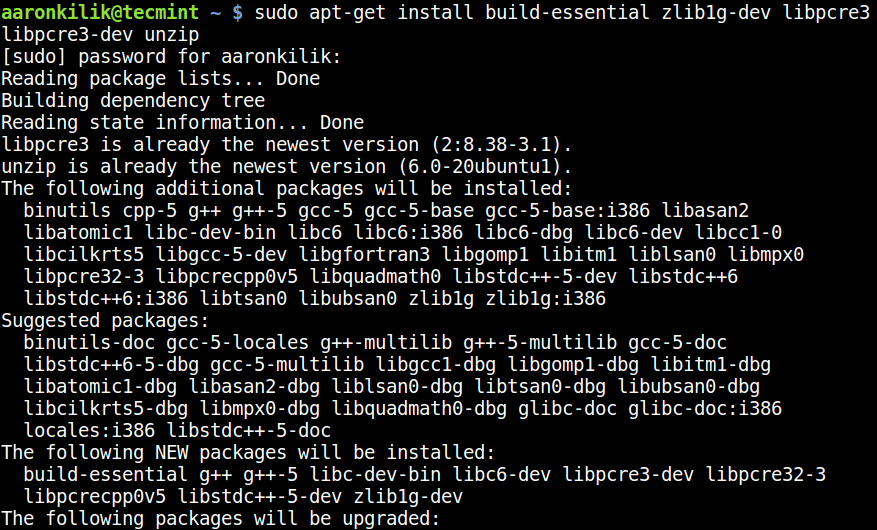
1. ソースから ngx_pagespeed を使用して Nginx をインストールするには、次のパッケージがシステムにインストールされている必要があります。
sudo apt-get install build-essential zlib1g-dev libpcre3 libpcre3-dev unzip
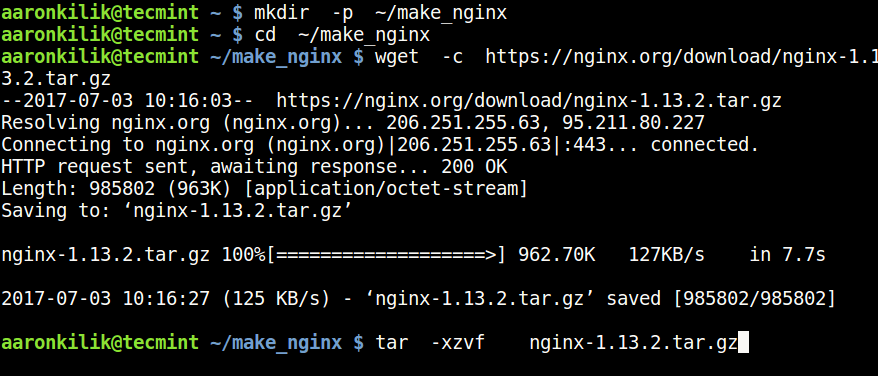
2. 次に、wget コマンドを使用して、最新バージョンの Nginx (この記事の執筆時点では1.13.2) のソース ファイルをダウンロードし、以下に示すようにファイルを解凍します。
mkdir -p ~/make_nginx
cd ~/make_nginx
wget -c https://nginx.org/download/nginx-1.13.2.tar.gz
tar -xzvf nginx-1.13.2.tar.gz
3. 次に、ngx_pagespeed ソース ファイルを取得し、次のように圧縮ファイルを解凍します。
wget -c https://github.com/pagespeed/ngx_pagespeed/archive/v1.12.34.2-stable.zip
unzip v1.12.34.2-stable.zip

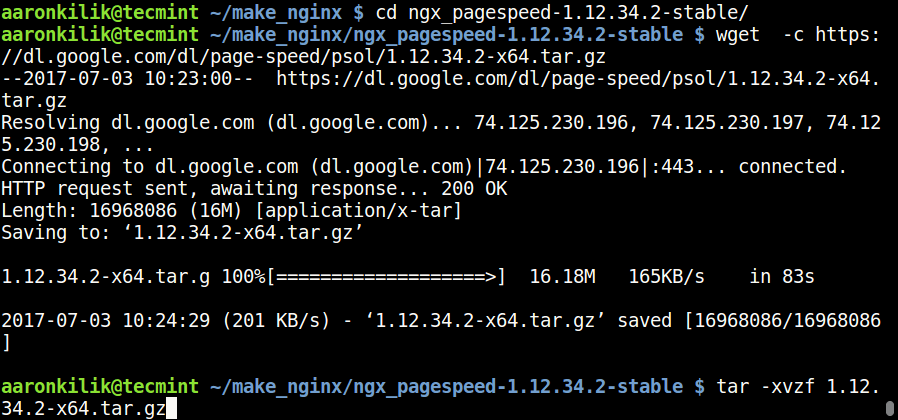
4. 次に、解凍した ngx_pagespeed ディレクトリに移動し、PageSpeed 最適化ライブラリをダウンロードして、次のように Nginx をコンパイルします。
cd ngx_pagespeed-1.12.34.2-stable/
wget -c https://dl.google.com/dl/page-speed/psol/1.12.34.2-x64.tar.gz
tar -xvzf 1.12.34.2-x64.tar.gz
ステップ 2: Ngx_Pagespeed を使用して Nginx を構成してコンパイルする
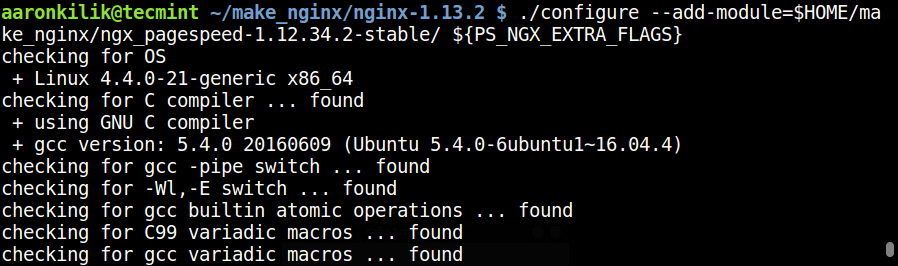
5. 次に、nginx-1.13.2 ディレクトリに移動し、次のコマンドを使用して Nginx ソースを構成します。
cd  ~/make_nginx/nginx-1.13.2
./configure --add-module=$HOME/make_nginx/ngx_pagespeed-1.12.34.2-stable/ ${PS_NGX_EXTRA_FLAGS}
6. 次に、次のように Nginx をコンパイルしてインストールします。
make
sudo make install

7. インストール プロセスが完了したら、以下のコマンドを実行して、Nginx に必要なシンボリック リンクを作成します。
sudo ln -s /usr/local/nginx/conf/ /etc/nginx
sudo ln -s /usr/local/nginx/sbin/nginx /usr/sbin/nginx
ステップ 3: SystemD 用の Nginx ユニット ファイルを作成する
8. ここでは、systemd が新しいバージョンの Debian および Ubuntu システムの init システムであるため、Nginx ユニット ファイルを手動で作成する必要があります。
まず、ファイル /lib/systemd/system/nginx.service を作成します。
sudo vi /lib/systemd/system/nginx.service
次に、NGINX systemd サービス ファイルをダウンロードし、ユニット ファイル構成をファイルに貼り付けます。
[Unit]
Description=The NGINX HTTP and reverse proxy server
After=syslog.target network.target remote-fs.target nss-lookup.target

[Service]
Type=forking
PIDFile=/var/run/nginx.pid
ExecStartPre=/usr/sbin/nginx -t
ExecStart=/usr/sbin/nginx
ExecReload=/bin/kill -s HUP $MAINPID
ExecStop=/bin/kill -s QUIT $MAINPID
PrivateTmp=true

[Install]
WantedBy=multi-user.target
ファイルを保存して閉じます。
9. ここで、当面は nginx サービスを開始し、以下のコマンドを使用してシステム起動時に開始できるようにします。
sudo systemctl start nginx
sudo systemctl enable nginx
重要: Nginx サービスを開始した後、以下のスクリーンショットに示すようなエラーが表示される場合があります。
systemd[1]: nginx.service: PID file /run/nginx.pid not readable (yet?) after start: No such file or directory
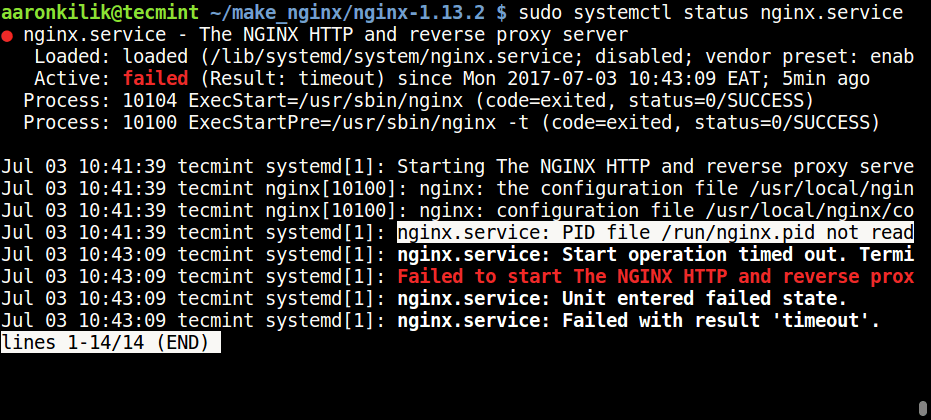
これを解決するには、Nginx 構成 /etc/nginx/nginx.conf ファイルを開き、次の行を追加します。
#pid  logs/nginx.pid;
to
pid  /run/nginx.pid;
最後に、nginx サービスを再度再起動します。
sudo systemctl daemon-reload
sudo systemctl start nginx
sudo systemctl status nginx
ステップ 4: Pagespeed モジュールを使用して Nginx を構成する
10. Nginx がシステムにインストールされ実行されているので、Ngx_pagespeed モジュールを有効にする必要があります。まず、モジュールが Web サイトのファイルをキャッシュするディレクトリを作成し、次のようにこのディレクトリに適切な権限を設定します。
sudo mkdir -p /var/ngx_pagespeed_cache
sudo chown -R nobody:nogroup /var/ngx_pagespeed_cache
11. Ngx_pagespeed モジュールを有効にするには、Nginx 構成ファイルを開きます。
sudo vi /etc/nginx/nginx.conf
次の Ngx_pagespeed 設定行をサーバー ブロック内に追加します。
Pagespeed main settings

pagespeed on;
pagespeed FileCachePath /var/ngx_pagespeed_cache;


Ensure requests for pagespeed optimized resources go to the pagespeed
handler and no extraneous headers get set.

location ~ "\.pagespeed\.([a-z]\.)?[a-z]{2}\.[^.]{10}\.[^.]+" { add_header "" ""; }
location ~ "^/ngx_pagespeed_static/" { }
location ~ "^/ngx_pagespeed_beacon" { }
注: サーバー上に nginx 仮想ホストを展開している場合は、上記の pagespeed ディレクティブを各サーバー ブロックに追加して、各サイトで Ngx_pagespeed を有効にします。
以下は、デフォルトの仮想ホストでNgx_pagespeed が有効になっている Nginx 構成ファイルの動作例です。
#user  nobody;
worker_processes  1;
#error_log  logs/error.log;
#error_log  logs/error.log  notice;
#error_log  logs/error.log  info;
pid   /run/nginx.pid;

events {
    worker_connections  1024;
}
http {
    include       mime.types;
    default_type  application/octet-stream;

    #log_format  main  '$remote_addr - $remote_user [$time_local] "$request" '
    #                  '$status $body_bytes_sent "$http_referer" '
    #                  '"$http_user_agent" "$http_x_forwarded_for"';
    #access_log  logs/access.log  main;
    sendfile        on;
    #tcp_nopush     on;
    #keepalive_timeout  0;
    keepalive_timeout  65;
    #gzip  on;
    server {
        listen       80;
        server_name  localhost;
        #charset koi8-r;
        #access_log  logs/host.access.log  main;
	# Pagespeed main settings
	pagespeed on;
	pagespeed FileCachePath /var/ngx_pagespeed_cache;
	# Ensure requests for pagespeed optimized resources go to the pagespeed
	# handler and no extraneous headers get set.
	location ~ "\.pagespeed\.([a-z]\.)?[a-z]{2}\.[^.]{10}\.[^.]+" { add_header "" ""; }
	location ~ "^/ngx_pagespeed_static/" { }
	location ~ "^/ngx_pagespeed_beacon" { }
	location / {
            root   html;
            index  index.html index.htm;
        }

        #error_page  404              /404.html;
        # redirect server error pages to the static page /50x.html
        #
        error_page   500 502 503 504  /50x.html;
        location = /50x.html {
            root   html;
        }
        # proxy the PHP scripts to Apache listening on 127.0.0.1:80
        #
        #location ~ \.php$ {
        #    proxy_pass   http://127.0.0.1;
        #}
        # pass the PHP scripts to FastCGI server listening on 127.0.0.1:9000
        #
        #location ~ \.php$ {
        #    root           html;
        #    fastcgi_pass   127.0.0.1:9000;
        #    fastcgi_index  index.php;
        #    fastcgi_param  SCRIPT_FILENAME  /scripts$fastcgi_script_name;
        #    include        fastcgi_params;
        #}
        # deny access to .htaccess files, if Apache's document root
        # concurs with nginx's one
        #
        #location ~ /\.ht {
        #    deny  all;
        #}
    }
    # another virtual host using mix of IP-, name-, and port-based configuration
    #
    #server {
    #    listen       8000;
    #    listen       somename:8080;
    #    server_name  somename  alias  another.alias;
    #    location / {
    #        root   html;
    #        index  index.html index.htm;
    #    }
    #}
    # HTTPS server
    #
    #server {
    #    listen       443 ssl;
    #    server_name  localhost;
    #    ssl_certificate      cert.pem;
    #    ssl_certificate_key  cert.key;

    #    ssl_session_cache    shared:SSL:1m;
    #    ssl_session_timeout  5m;
    #    ssl_ciphers  HIGH:!aNULL:!MD5;
    #    ssl_prefer_server_ciphers  on;
    #    location / {
    #        root   html;
    #        index  index.html index.htm;
    #    }
    #}
}
ファイルを保存して閉じます。
12. 次に、以下のコマンドを実行して、Nginx 構成ファイルの構文にエラーがないことを確認します。正しい場合は、以下の出力が表示されます。
sudo nginx -t

nginx: the configuration file /usr/local/nginx/conf/nginx.conf syntax is ok
nginx: configuration file /usr/local/nginx/conf/nginx.conf test is successful
13. その後、Nginx サーバーを再起動して、最近の変更を有効にします。
sudo systemctl restart nginx
ステップ 5: Ngx_pagespeed を使用して Nginx をテストする
14. 次に、以下の cURL コマンドを使用して、Ngx-pagespeed が Nginx と連携して動作するかどうかをテストします。
curl -I -p http://localhost
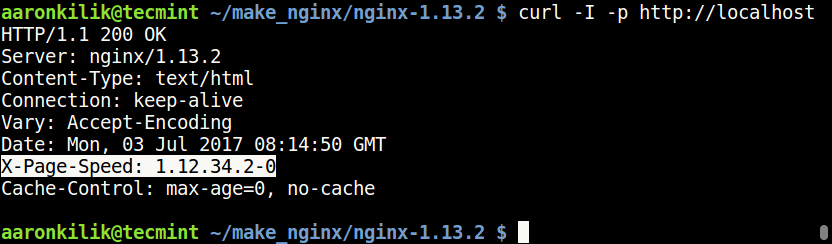
上記のヘッダーが表示されない場合は、ステップ 10 に戻り、以降のステップで Ngx-pagespeed を有効にする手順を注意深く実行してください。
Ngx-pagespeed Github リポジトリ: https://github.com/pagespeed/ngx_pagespeed
Nginx Web サーバーを保護したい場合は、この便利なチュートリアルを読むことをお勧めします: Nginx のパフォーマンスを保護、強化し、改善するための究極のガイド。
それだ!このチュートリアルでは、Debian と Ubuntu に ngx_pagespeed を使用して Nginx をインストールする方法を説明しました。ご質問がございましたら、以下のコメントフォームを使用してお送りください。