RHEL/CentOS 7 で「PowerDNS」(MariaDB を使用) および「PowerAdmin」をインストールおよび構成する方法
PowerDNS は、多くの Linux/Unix 派生製品上で実行される DNS サーバーです。 BIND スタイルのゾーン ファイル、リレーショナル データベース、負荷分散/フェイルオーバー アルゴリズムなど、さまざまなバックエンドを使用して構成できます。サーバー上で別のプロセスとして実行される DNS リカーサーとしてセットアップすることもできます。
PowerDNS Authoritative サーバーの最新バージョンは 3.4.4 ですが、EPEL リポジトリで現在入手可能なバージョンは 3.4.3 です。このバージョンは CentOS と Fedora でテストされているため、EPEL リポジトリ用のものをインストールすることをお勧めします。そうすることで、今後はPowerDNS を簡単に更新することもできます。
この記事では、MariaDB バックエンドと、フレンドリーな Web インターフェイス管理ツールである PowerAdmin を備えたマスター PowerDNS サーバーをインストールしてセットアップする方法を説明します。パワーDNS。
この記事では、次のサーバーを使用します。
Hostname: centos7.localhost
IP Address 192.168.0.102
ステップ 1: MariaDB バックエンドを使用した PowerDNS のインストール
1. まず、サーバーの EPEL リポジトリを有効にする必要があります。次のコマンドを使用します。
yum install epel-release.noarch

2. 次のステップは、MariaDB サーバーをインストールすることです。これは、次のコマンドを実行することで簡単に実行できます。
yum -y install mariadb-server mariadb

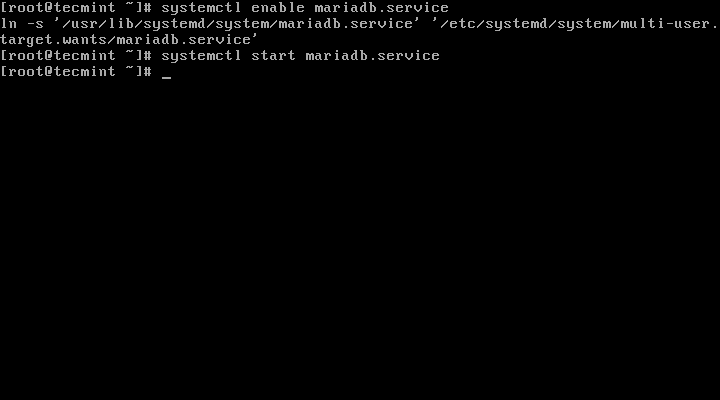
3. 次に、MySQL を有効にしてシステム起動時に開始するように設定します。
systemctl enable mariadb.service
systemctl start mariadb.service
4. MySQL サービスが実行されているので、次のコマンドを実行して MariaDB のパスワードを保護し、設定します。
mysql_secure_installation
指示に従ってください
/bin/mysql_secure_installation: line 379: find_mysql_client: command not found

NOTE: RUNNING ALL PARTS OF THIS SCRIPT IS RECOMMENDED FOR ALL MariaDB
      SERVERS IN PRODUCTION USE!  PLEASE READ EACH STEP CAREFULLY!

In order to log into MariaDB to secure it, we'll need the current
password for the root user.  If you've just installed MariaDB, and
you haven't set the root password yet, the password will be blank,
so you should just press enter here.

Enter current password for root (enter for none):  Press ENTER
OK, successfully used password, moving on...

Setting the root password ensures that nobody can log into the MariaDB
root user without the proper authorisation.

Set root password? [Y/n] y
New password:  ← Set New Password
Re-enter new password:  ← Repeat Above Password
Password updated successfully!
Reloading privilege tables..
 ... Success!


By default, a MariaDB installation has an anonymous user, allowing anyone
to log into MariaDB without having to have a user account created for
them.  This is intended only for testing, and to make the installation
go a bit smoother.  You should remove them before moving into a
production environment.

Remove anonymous users? [Y/n] y ← Choose “y” to disable that user
 ... Success!

Normally, root should only be allowed to connect from 'localhost'.  This
ensures that someone cannot guess at the root password from the network.

Disallow root login remotely? [Y/n] n ← Choose “n” for no
 ... skipping.

By default, MariaDB comes with a database named 'test' that anyone can
access.  This is also intended only for testing, and should be removed
before moving into a production environment.

Remove test database and access to it? [Y/n] y ← Choose “y” for yes
 - Dropping test database...
 ... Success!
 - Removing privileges on test database...
 ... Success!

Reloading the privilege tables will ensure that all changes made so far
will take effect immediately.

Reload privilege tables now? [Y/n] y ← Choose “y” for yes
 ... Success!

Cleaning up...

All done!  If you've completed all of the above steps, your MariaDB
installation should now be secure.

Thanks for using MariaDB!
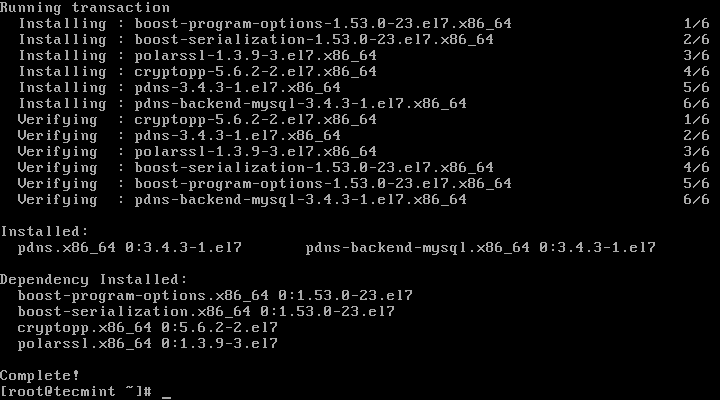
5. MariaDB の構成が正常に完了したら、PowerDNS のインストールに進むことができます。これは以下を実行することで簡単に完了します。
yum -y install pdns pdns-backend-mysql
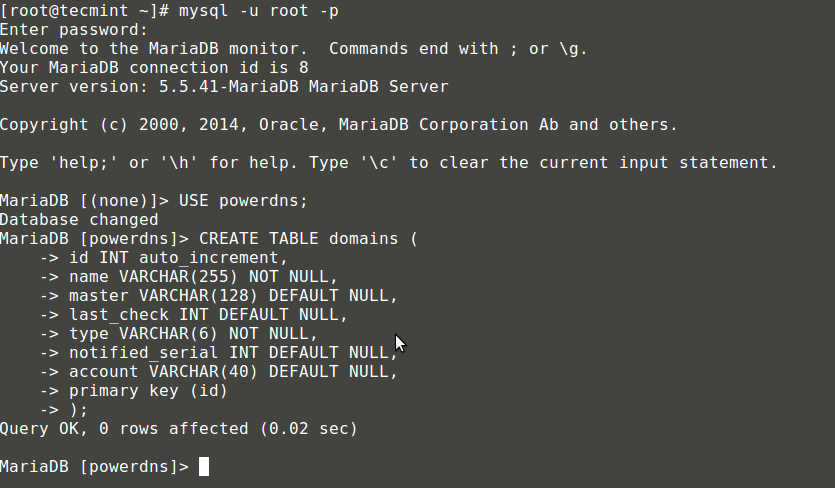
6. PowerDNS の構成ファイルは /etc/pdns/pdns にありますが、編集する前に、MySQL データベースをセットアップします。 PowerDNS サービス。まず、MySQL サーバーに接続し、powerdns という名前のデータベースを作成します。
mysql -u root -p
MariaDB [(none)]> CREATE DATABASE powerdns;

7. 次に、powerdns というデータベース ユーザーを作成します。
MariaDB [(none)]> GRANT ALL ON powerdns.* TO 'powerdns'@'localhost' IDENTIFIED BY 'tecmint123';
MariaDB [(none)]> GRANT ALL ON powerdns.* TO 'powerdns'@'centos7.localdomain' IDENTIFIED BY 'tecmint123';
MariaDB [(none)]> FLUSH PRIVILEGES;

注: 「tecmint123 」をセットアップに使用する実際のパスワードに置き換えます。
8. 次に、PowerDNS で使用されるデータベース テーブルを作成します。これらをブロックごとに実行します。
MariaDB [(none)]> USE powerdns;
MariaDB [(none)]> CREATE TABLE domains (
id INT auto_increment,
name VARCHAR(255) NOT NULL,
master VARCHAR(128) DEFAULT NULL,
last_check INT DEFAULT NULL,
type VARCHAR(6) NOT NULL,
notified_serial INT DEFAULT NULL,
account VARCHAR(40) DEFAULT NULL,
primary key (id)
);
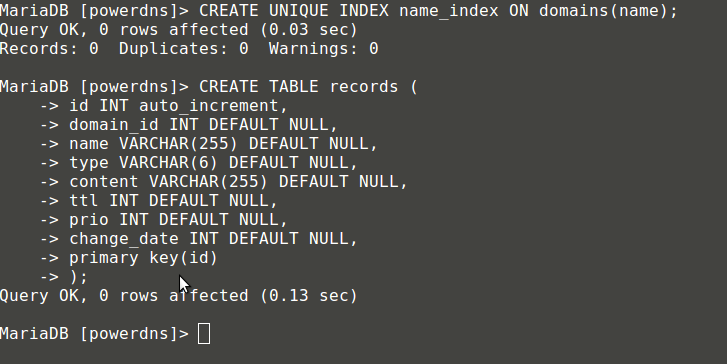
MariaDB [(none)]> CREATE UNIQUE INDEX name_index ON domains(name);
MariaDB [(none)]> CREATE TABLE records (
id INT auto_increment,
domain_id INT DEFAULT NULL,
name VARCHAR(255) DEFAULT NULL,
type VARCHAR(6) DEFAULT NULL,
content VARCHAR(255) DEFAULT NULL,
ttl INT DEFAULT NULL,
prio INT DEFAULT NULL,
change_date INT DEFAULT NULL,
primary key(id)
);
MariaDB [(none)]> CREATE INDEX rec_name_index ON records(name);
MariaDB [(none)]> CREATE INDEX nametype_index ON records(name,type);
MariaDB [(none)]> CREATE INDEX domain_id ON records(domain_id);

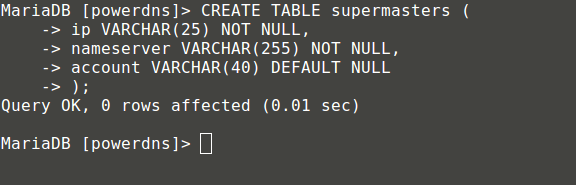
MariaDB [(none)]> CREATE TABLE supermasters (
ip VARCHAR(25) NOT NULL,
nameserver VARCHAR(255) NOT NULL,
account VARCHAR(40) DEFAULT NULL
);
次のように入力して、MySQL コンソールを終了できます。
MariaDB [(none)]> quit;
9. 最後に、MySQL をバックエンドとして使用するように PowerDNS の構成を進めることができます。そのためには、次の場所にあるPowerDNS 構成ファイルを開きます。
vim /etc/pdns/pdns.conf
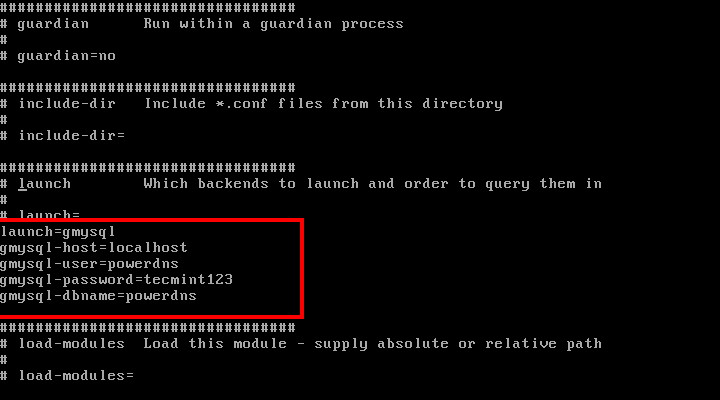
そのファイル内で次のような行を探します。
#################################
launch        Which backends to launch and order to query them in
#
launch=
その直後に次のコードを追加します。
launch=gmysql
gmysql-host=localhost
gmysql-user=powerdns
gmysql-password=user-pass
gmysql-dbname=powerdns
「user-pass 」を、前に設定した実際のパスワードに変更します。私の構成は次のようになります。
変更を保存して終了します。
10. 次に、PowerDNS を起動し、システム起動時に開始されるサービスのリストに追加します。
systemctl enable pdns.service
systemctl start pdns.service

この時点で、PowerDNS サーバーは起動し、実行されています。 PowerDNS の詳細については、http://downloads.powerdns.com/documentation/html/index.html で入手可能なマニュアルを参照してください。